Azz
-
Posts
7 -
Joined
-
Last visited
Azz's Achievements
0
Reputation
-
CG125 Brat style project bike
Azz replied to Azz's topic in Old Motorbikes, Projects and Restorations
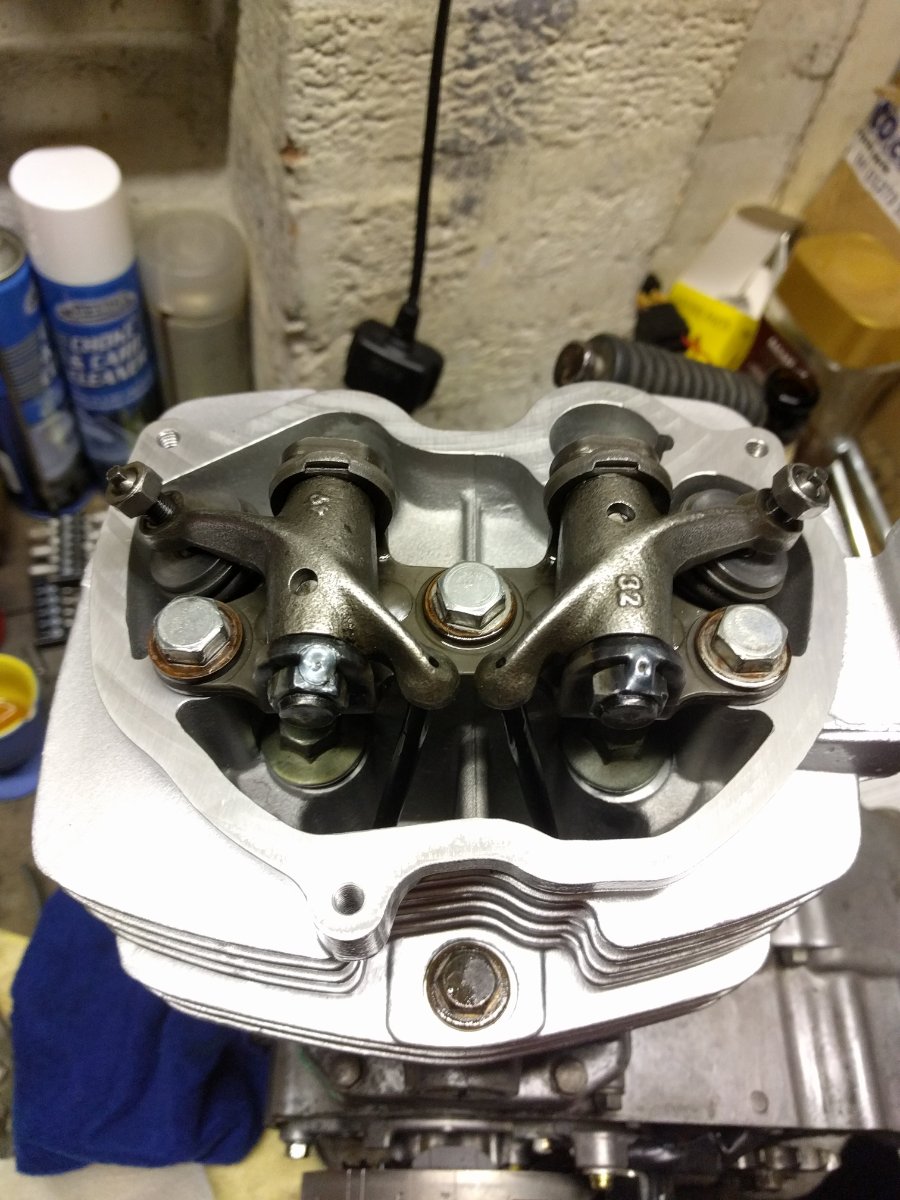
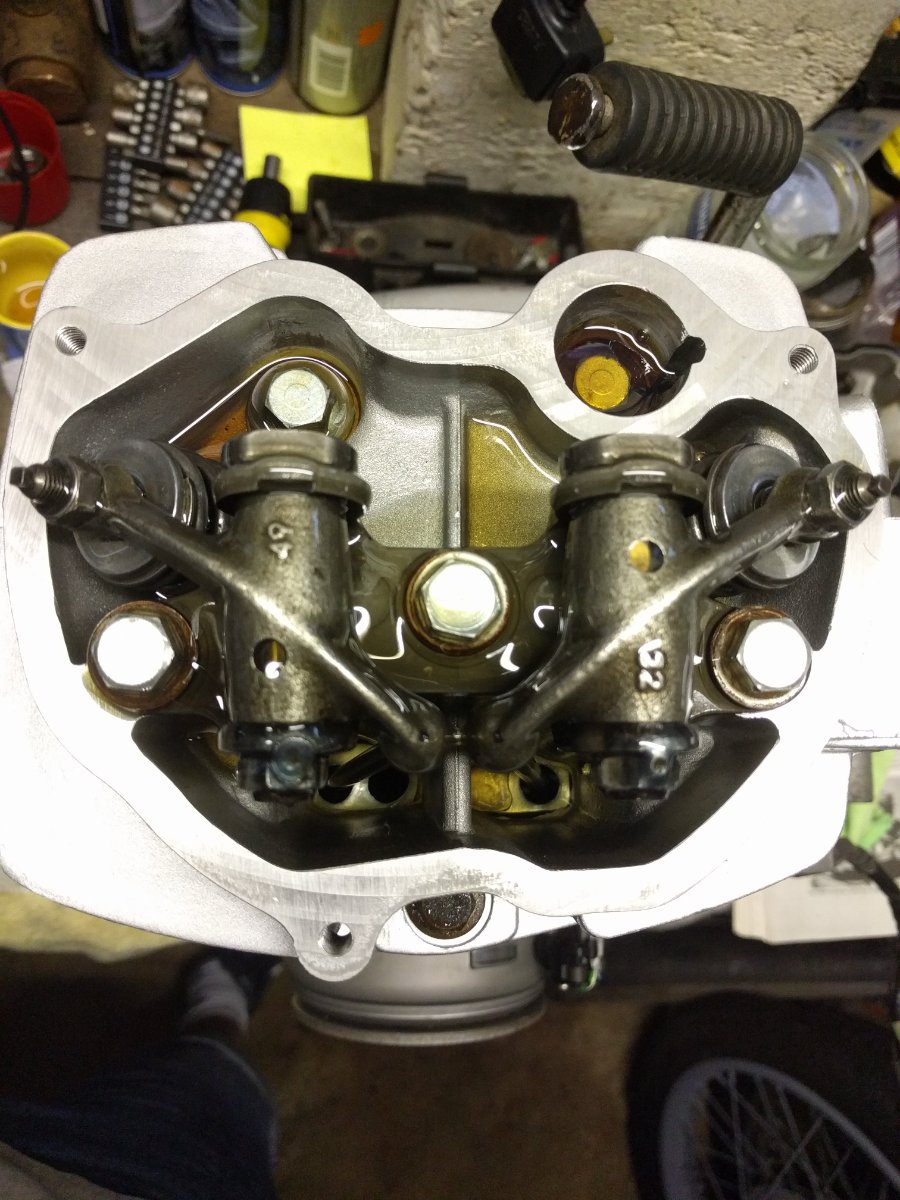
As mentioned the tappets were quite loud compared to what they should have been, so when we took the head back off we then re-set the valve clearances correctly..this really reduced the sound down although there's still a noticeable faint tapping sound. Over all it sounds much better. Here's a pic and video. https://youtu.be/mwrQdM6ADLs Excuse the dirty looking oil on the pic..we only topped it up a little bit and left the other oil in there....that happens to be about 5 years old Luckily I managed to grab a heavily reduced bargain at Tesco for some Mobil racing motorcycle oil..probably a bit overkill for a CG (given that they can run on olive oil lol) but heck it was only £2 reduced from about £18..couldn't pass on that one!! [mention]fastbob[/mention] I agree on the pod filters...I've got my doubts about them, the original air box isn't the prettiest but it seems to do a very good job, just a shame about the size of it, the pod filter will sometimes make the engine cut..I imagine it's needing more fuel given the huge increase in air it's taking in with it. Raise the needle? Bigger main jet? I will note that it isn't the original carb, we got rid of that one in favour of a single cable one.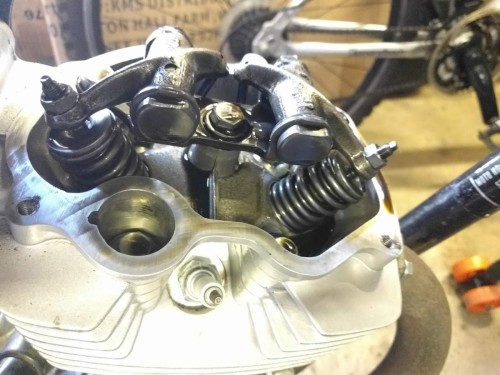
-
CG125 Brat style project bike
Azz replied to Azz's topic in Old Motorbikes, Projects and Restorations
And here is the video of it running for the first time..apologies for not getting the kick start..it proved a little difficult the first time but after that it was fine. As you can hear, the tappets are a little loud here, so we took the head back off (before it go too hot!) and adjusted them again. For some reason they had completed unset themselves from my prior adjustments even though I did them pretty damn tight?! https://www.youtube.com/watch?v=eM4BIYhWxnQ&feature=youtu.be -
CG125 Brat style project bike
Azz replied to Azz's topic in Old Motorbikes, Projects and Restorations
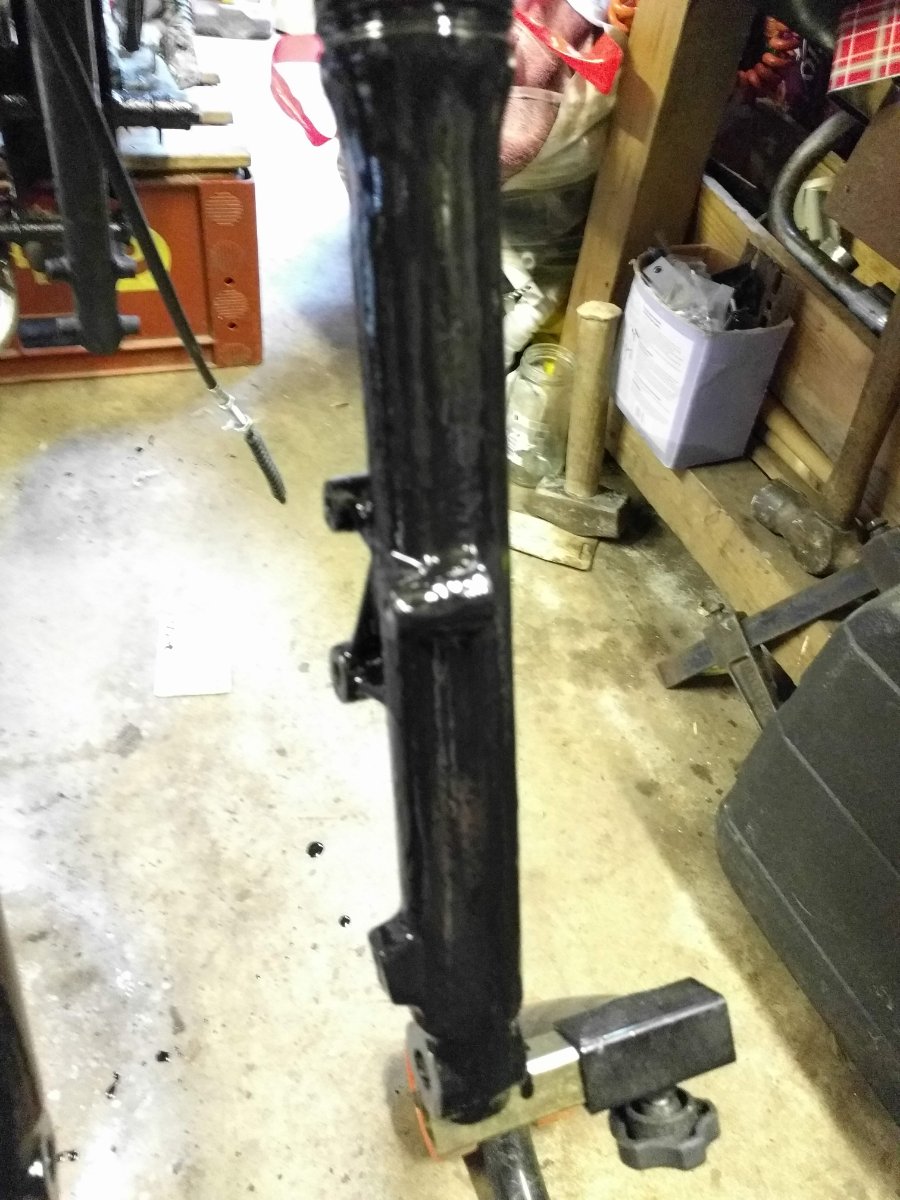
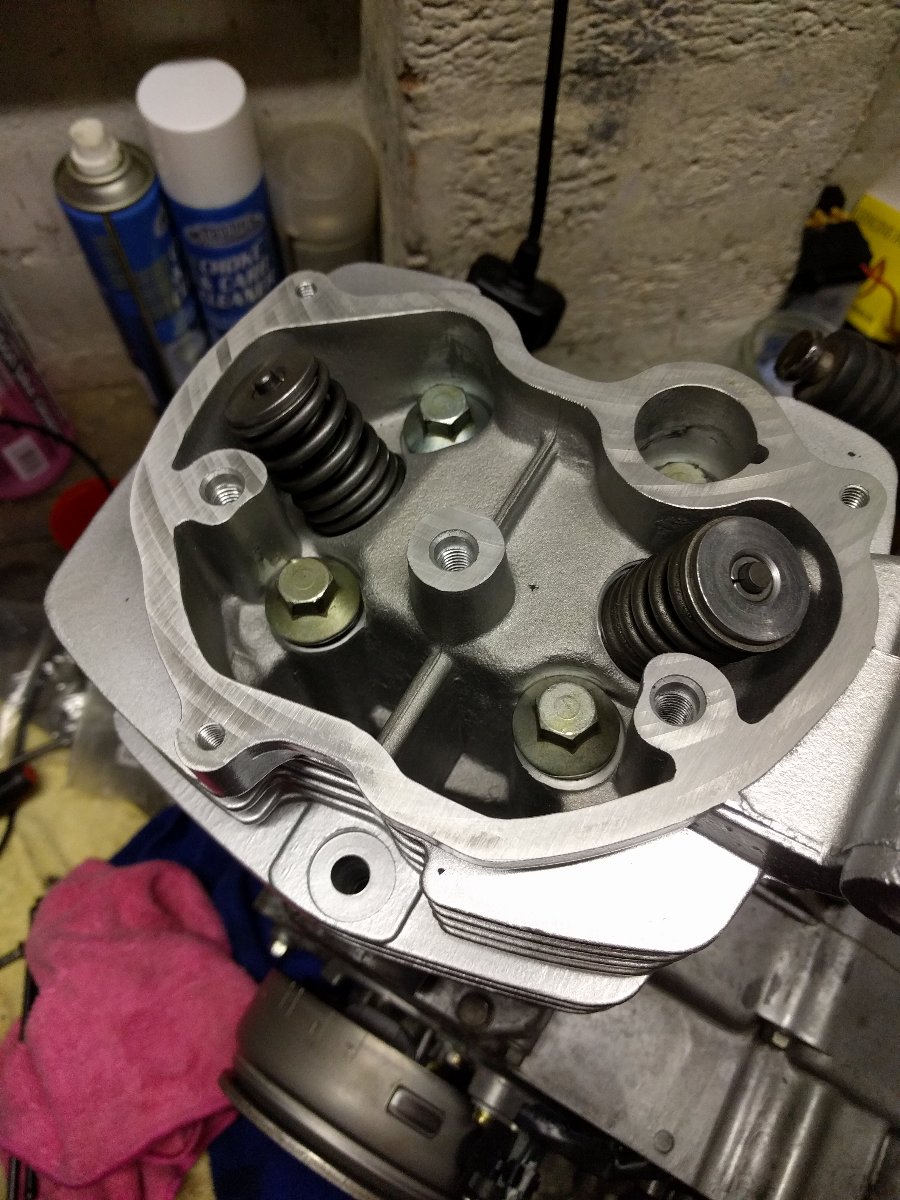
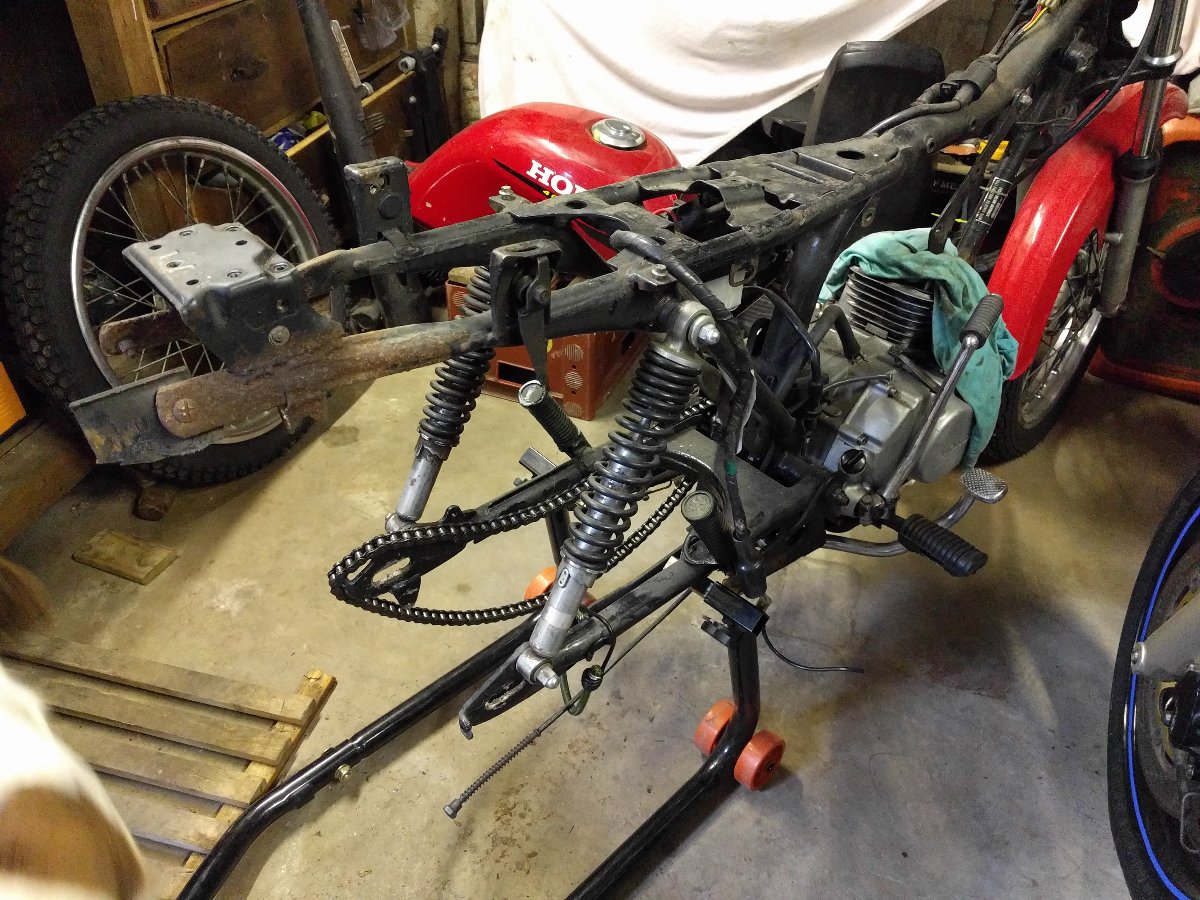
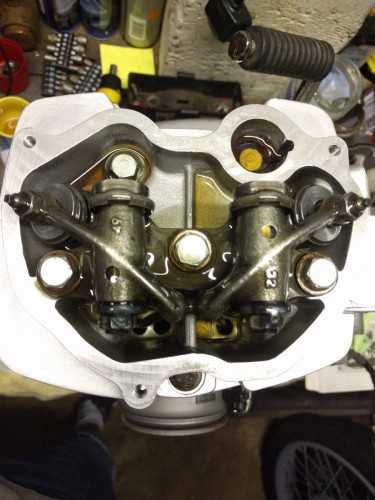
Sorry for the lack of updates...here's my latest one (which is from earlier this year)..I put the rocker on and then set the clearances with a feeler gauge.... ...then it was time to oil it up. Once that was sorted, it was just a matter of getting the engine in..which I was pretty eager to do before I moved away as I wanted to see if my "creation" worked correctly. If all was okay, I could then start work on the body and modify that to fit the style I'm aiming for. I did give the front forks a lick of Hammerite, I know it's not powder coating but I'm on a budget here and if I were to powder coat the forks I'd have then needed to powder coat everything else to match!

-
CG125 Brat style project bike
Azz replied to Azz's topic in Old Motorbikes, Projects and Restorations
Will update soon! Can I post videos on here or will I need to upload to Youtube? Cheers -
CG125 Brat style project bike
Azz replied to Azz's topic in Old Motorbikes, Projects and Restorations
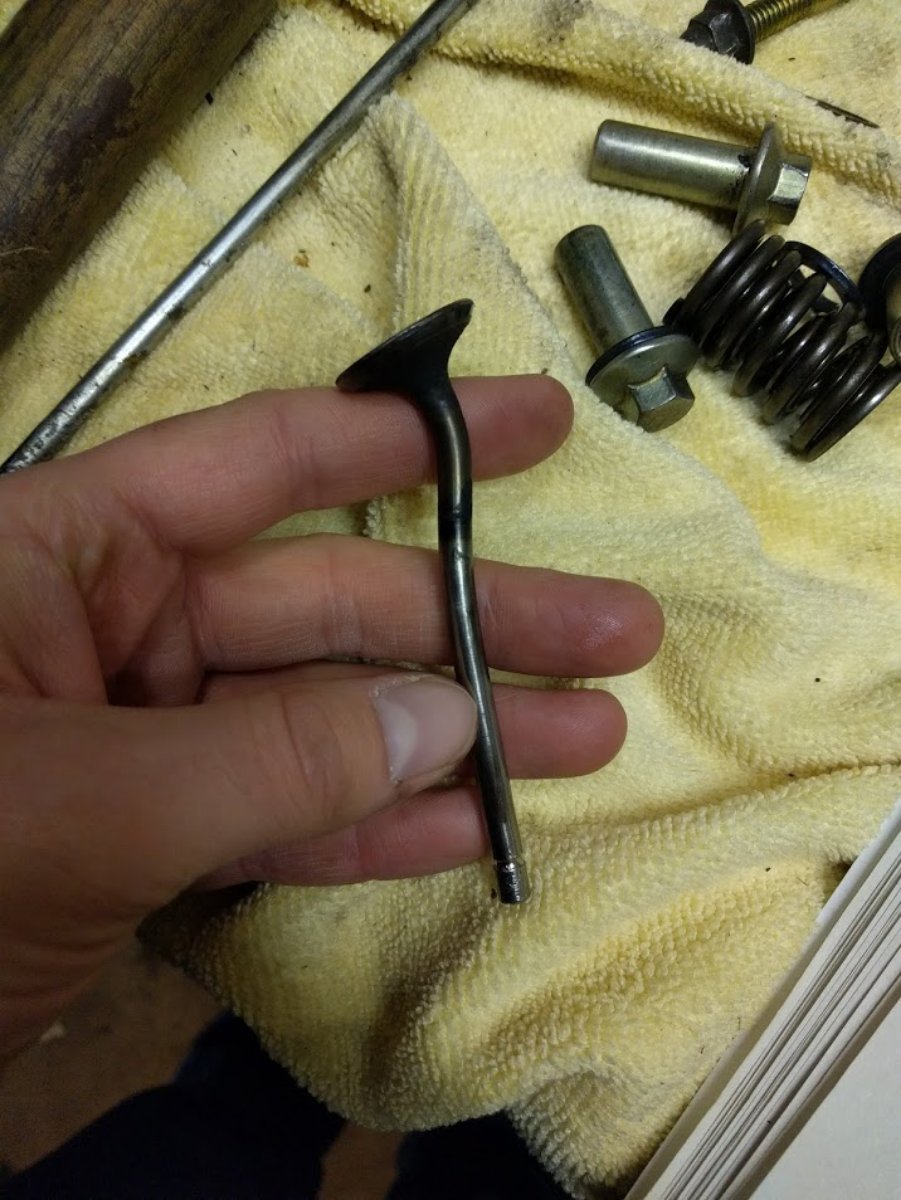
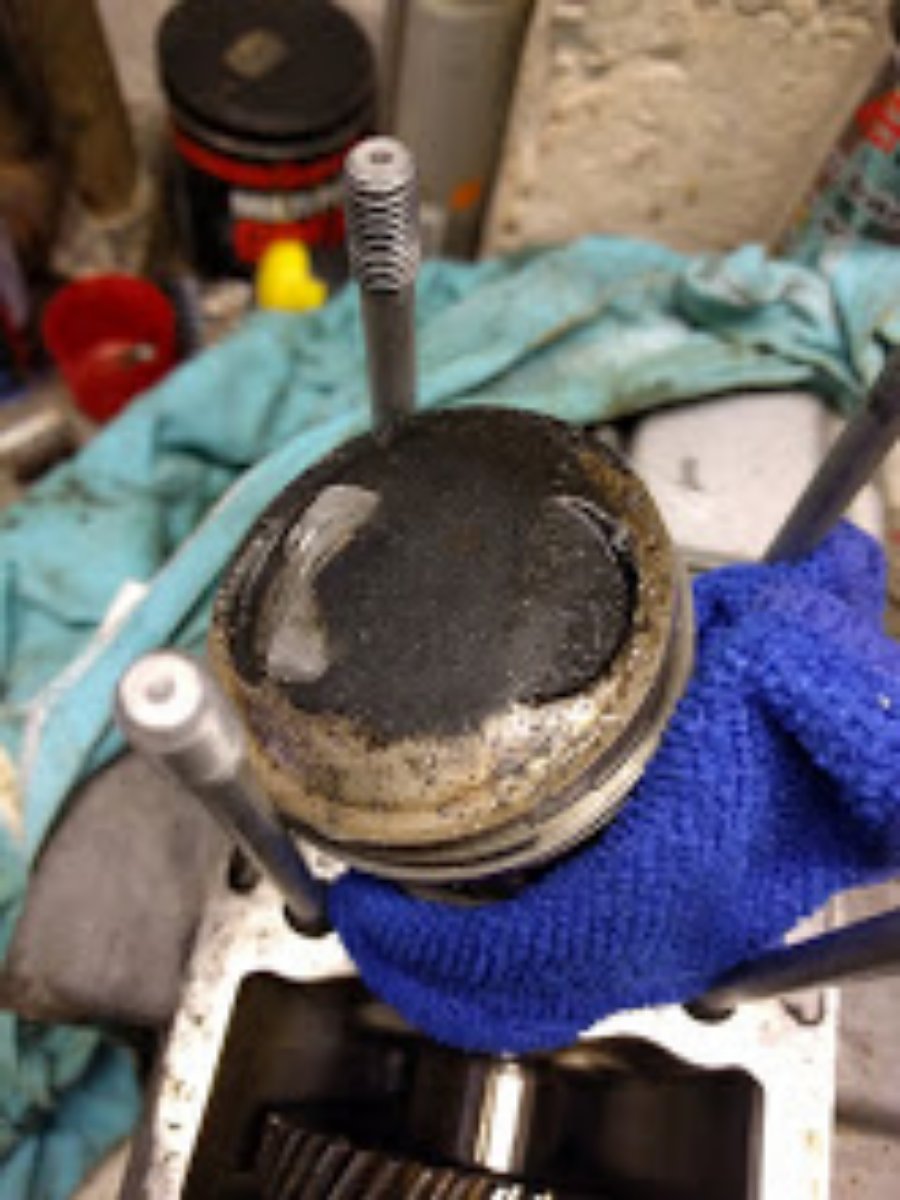
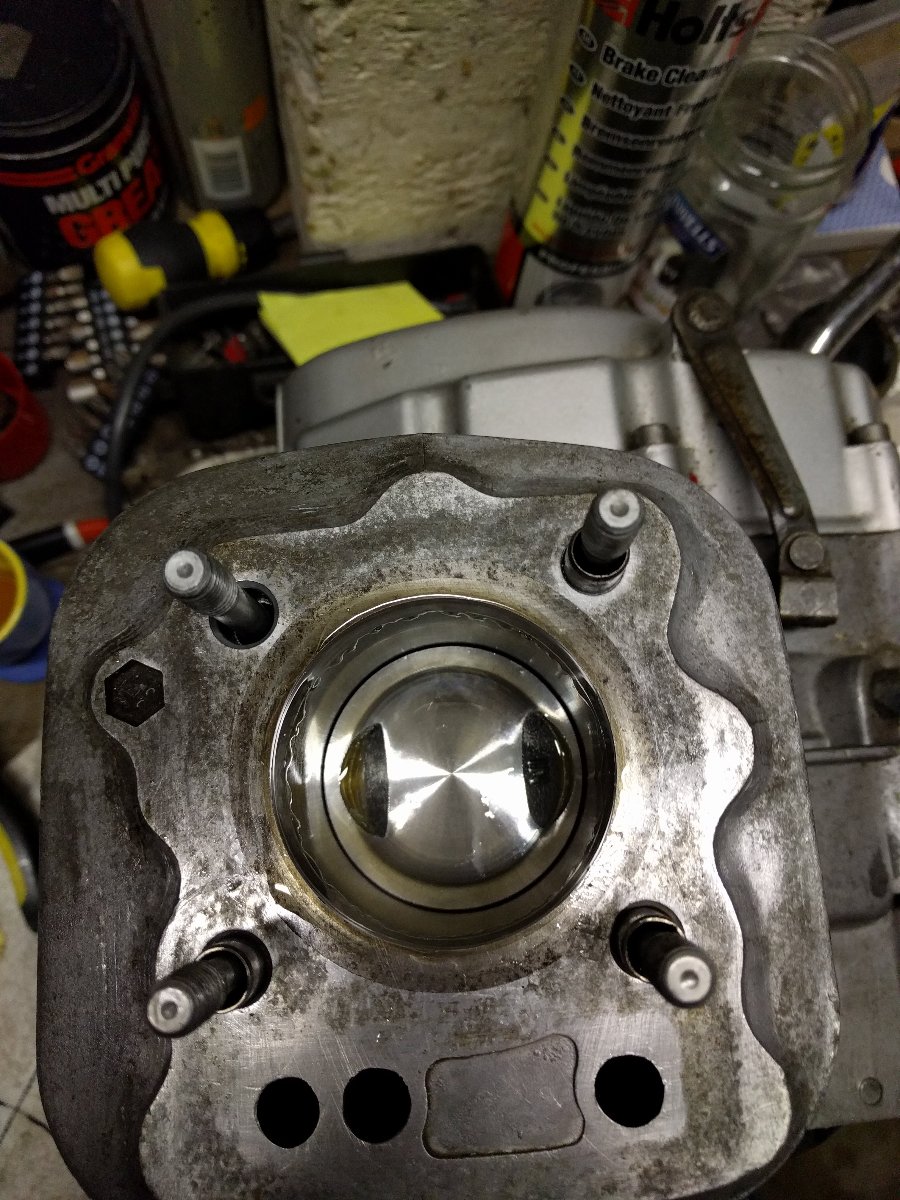
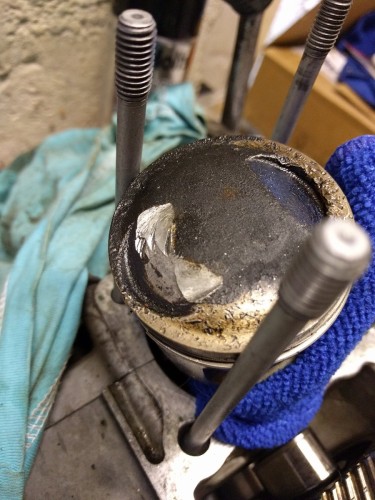
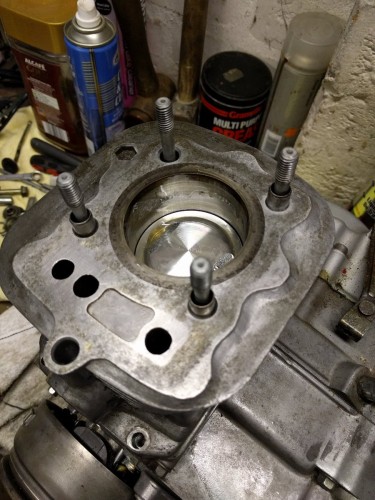
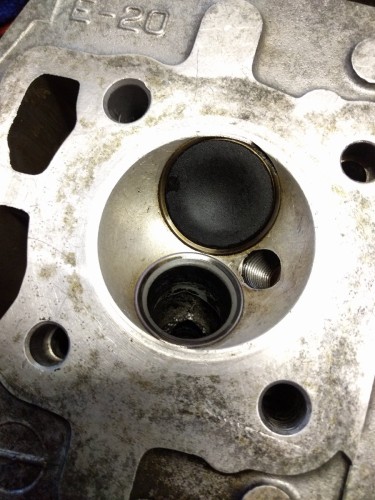
Hi all, sorry for not updating this in a while! Next step was to take the engine and have a look at the previous damage that had been caused..there was an ever so slight surface scratch on the piston (as you can clearly see in the photos..I've zoomed in just to make sure you notice it) I think the damage was caused from the exhaust valve dropping in whilst the engine was turning over and then getting bettered and seized in due to the bending of it! The valve was a pain to get out!! I fitted a new piston and also new cylinder head because the damage was too much for the old one - shame really as it was genuine Honda. Here's a few photos to show this.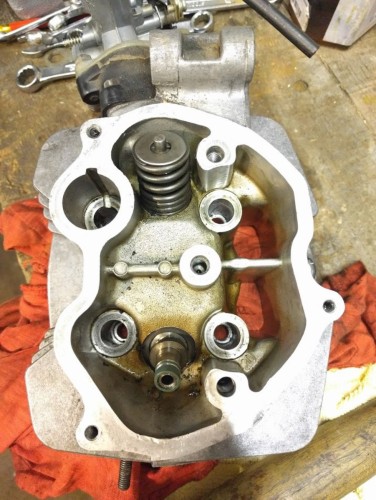


-
CG125 Brat style project bike
Azz replied to Azz's topic in Old Motorbikes, Projects and Restorations
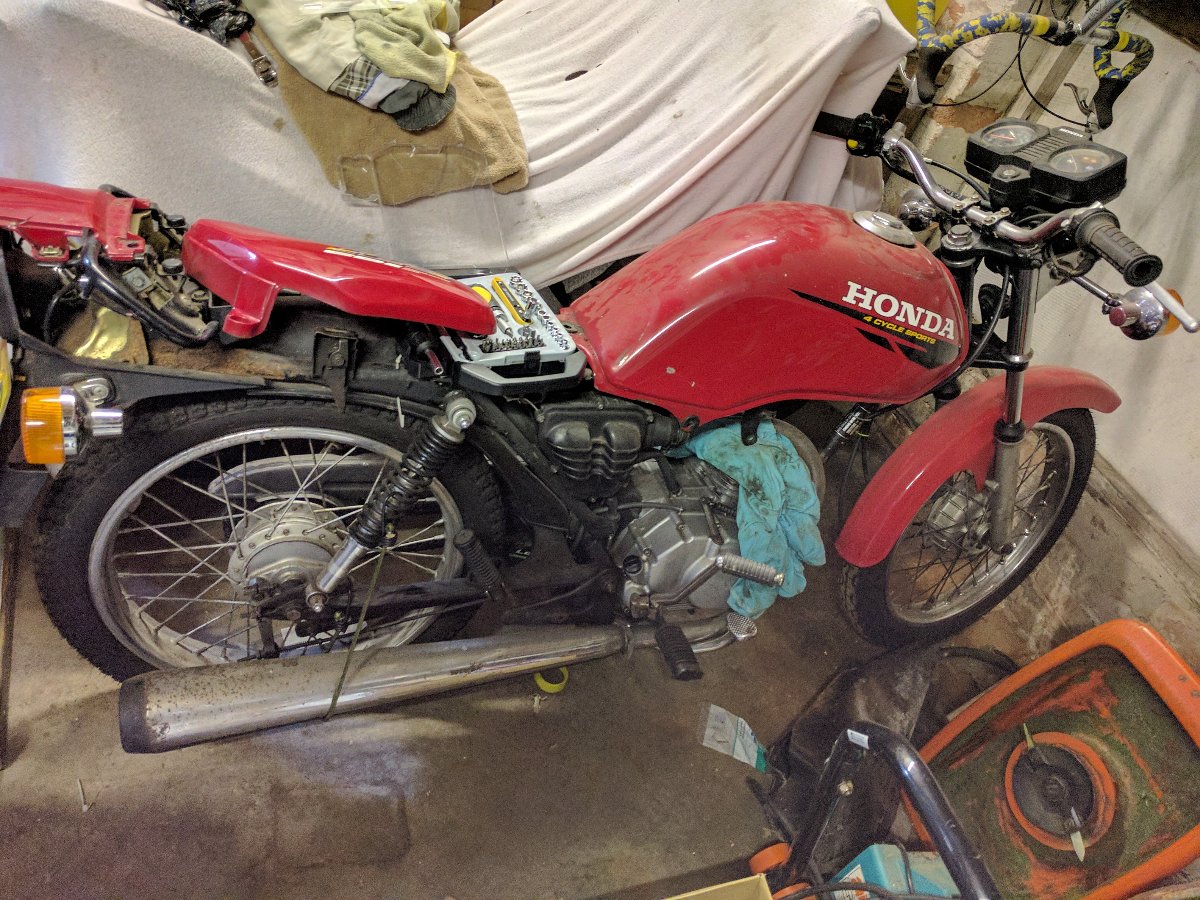
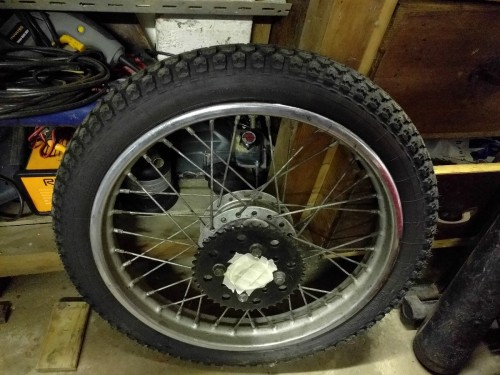
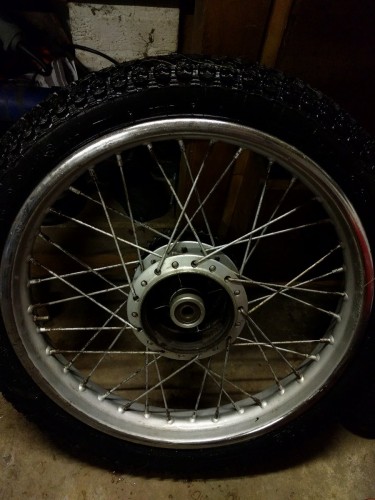
Thanks Fastbob, will keep that in mind!! Here's a few more pictures of the bike, I'd just stripped most of the things off of it and also gave the wheels a clean, although they had Hammerite paint on them but that came off with a bit of elbow grease. My plan is to paint the wheels a kind of matte military colour, the frame will be satin black and then also the tank will be matte military green too. I'm thinking that I may spray a decal on there, something from the war time era? - that's the kind of look I want to go for. Thoughts are welcome!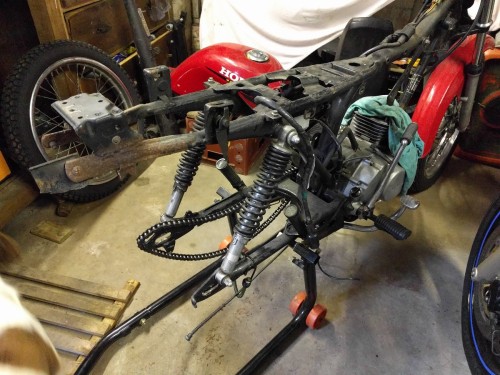
-
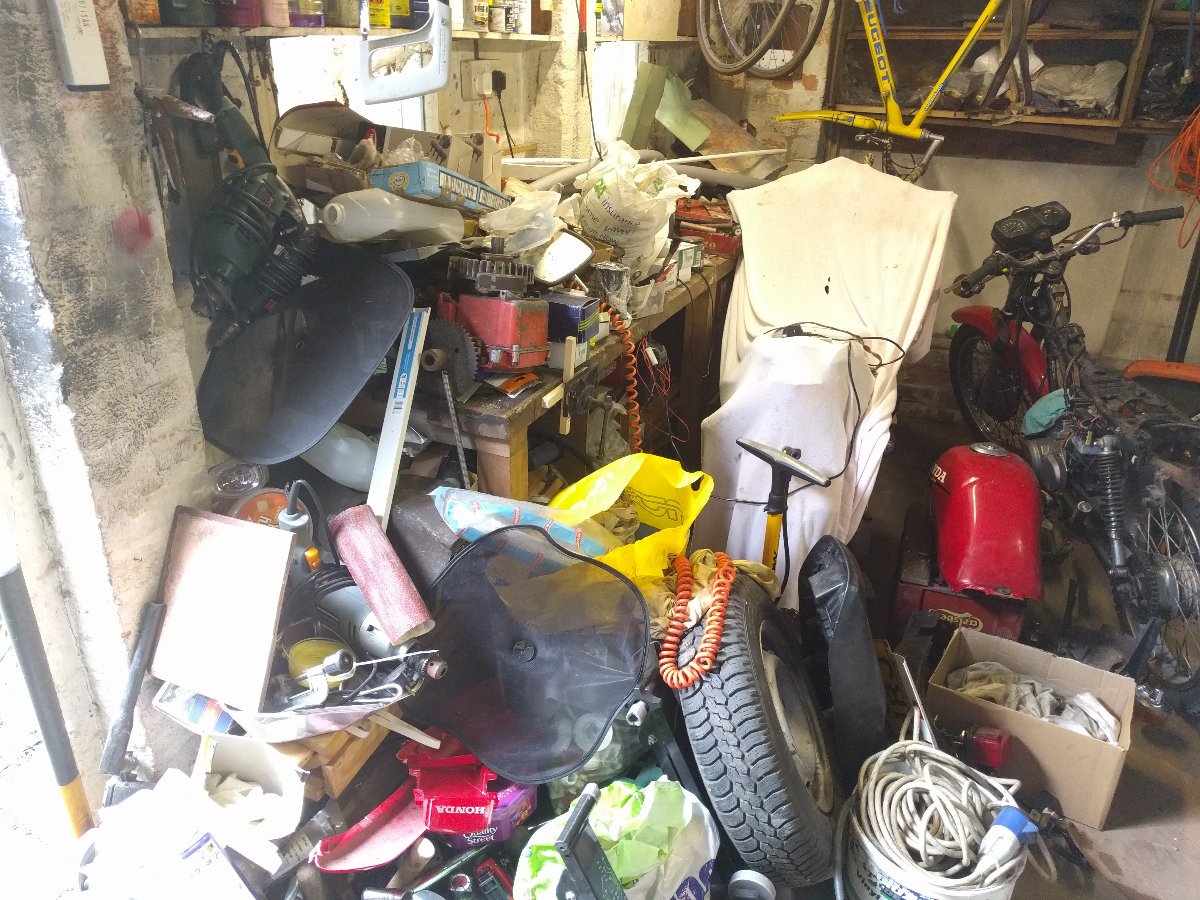
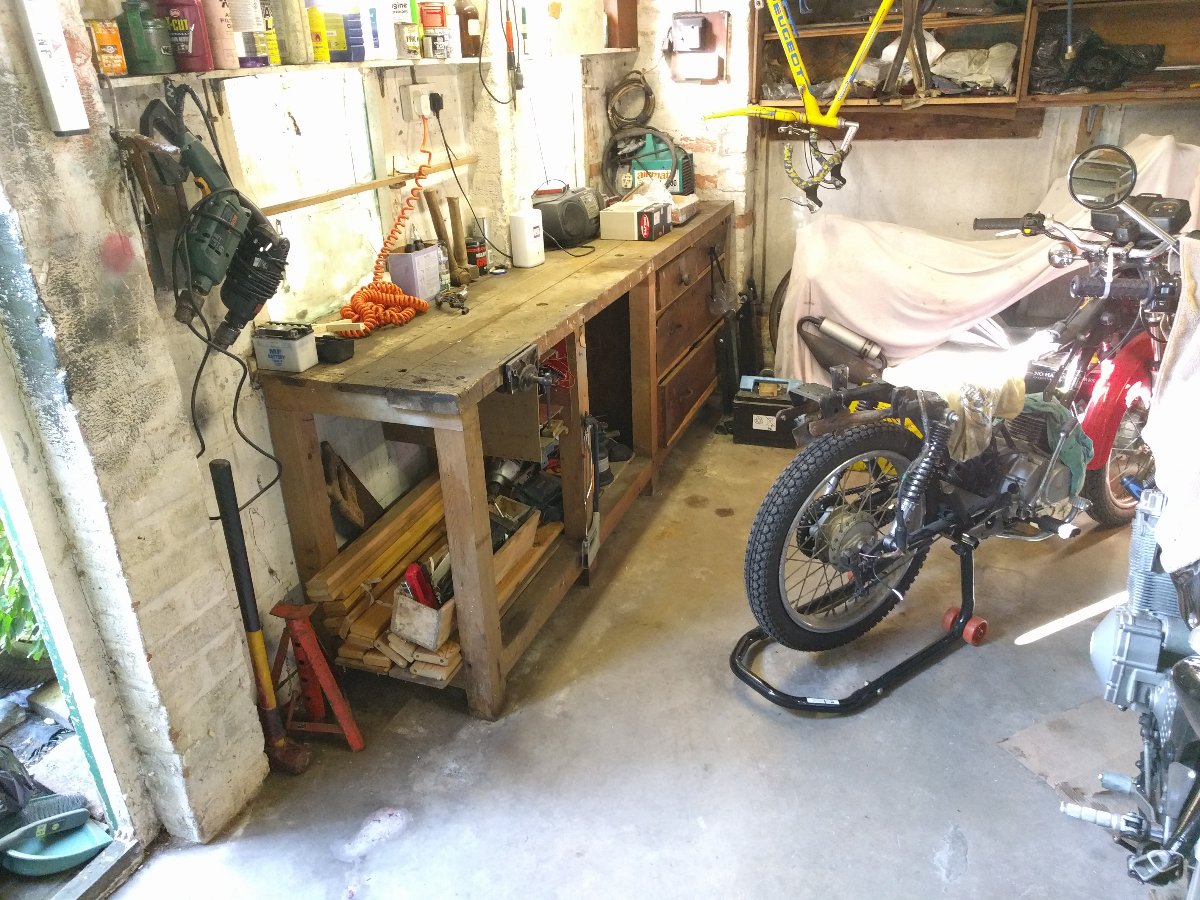
As the title suggests, I'm part way through a resto/project on my old CG125. It's been sat in the garage for quite some time after I previously had it made road worthy..however it had since broken again and needed a top end rebuild. I'll post what I've done so far when I have some extra time, but for the moment here is the starting images. First, let's get this garage tidy and give you a look at the starting point!! Cheers